Unlocking Your Kindle’s Full Potential: A Step-by-Step Jailbreak Guide
Overview
Amazon’s Kindle e-readers are fantastic devices for reading, but they intentionally limit what you can do—no custom wallpapers, no third-party apps, no screen savers beyond the default advertisements. However, the hardware itself is far more capable. By jailbreaking your Kindle, you gain access to a world of hidden features: custom screensavers, advanced reading statistics, even the ability to install alternative operating systems like KOReader for better PDF handling. This guide walks you through the entire process, from prerequisites to post-jailbreak tweaks, ensuring you can safely and effectively unlock your device’s true potential.

Prerequisites
Supported Devices
Not every Kindle can be jailbroken. The most common targets are the Kindle Paperwhite (6th generation and later), Kindle Voyage, Kindle Oasis, and the basic Kindle (7th generation and later). First-generation models and the newer Kindle Scribe have limited support. Always check the latest community compatibility lists before proceeding.
Required Tools
- A computer (Windows, macOS, or Linux)
- A USB cable to connect your Kindle to the computer
- Jailbreak files specific to your Kindle’s firmware version (download from trusted sources like MobileRead forums or GitHub repositories)
- File manager (like Windows Explorer or Finder) to transfer files
- Optional: A third-party tool like KindleTool or jailbreak.sh for automated processes
Step-by-Step Instructions
Step 1: Prepare Your Kindle
First, ensure your Kindle is fully charged—at least 50% battery to avoid interruptions. Disable Wi-Fi and airplane mode to prevent auto-updates that could patch the jailbreak. Then, note your current firmware version: go to Settings > Device Info. Write it down, as you’ll need jailbreak files matching this version.
Step 2: Transfer Jailbreak Files
On your computer, download the correct jailbreak archive for your firmware. Extract the ZIP to reveal a folder containing jailbreak.sh (or a .bin file) and possibly additional assets. Connect your Kindle via USB—it will appear as a removable drive. Create a folder called linkjail (or use the folder name specified in the instructions) in the root directory of the Kindle’s internal storage. Copy the jailbreak files into that folder.
Step 3: Execute the Jailbreak
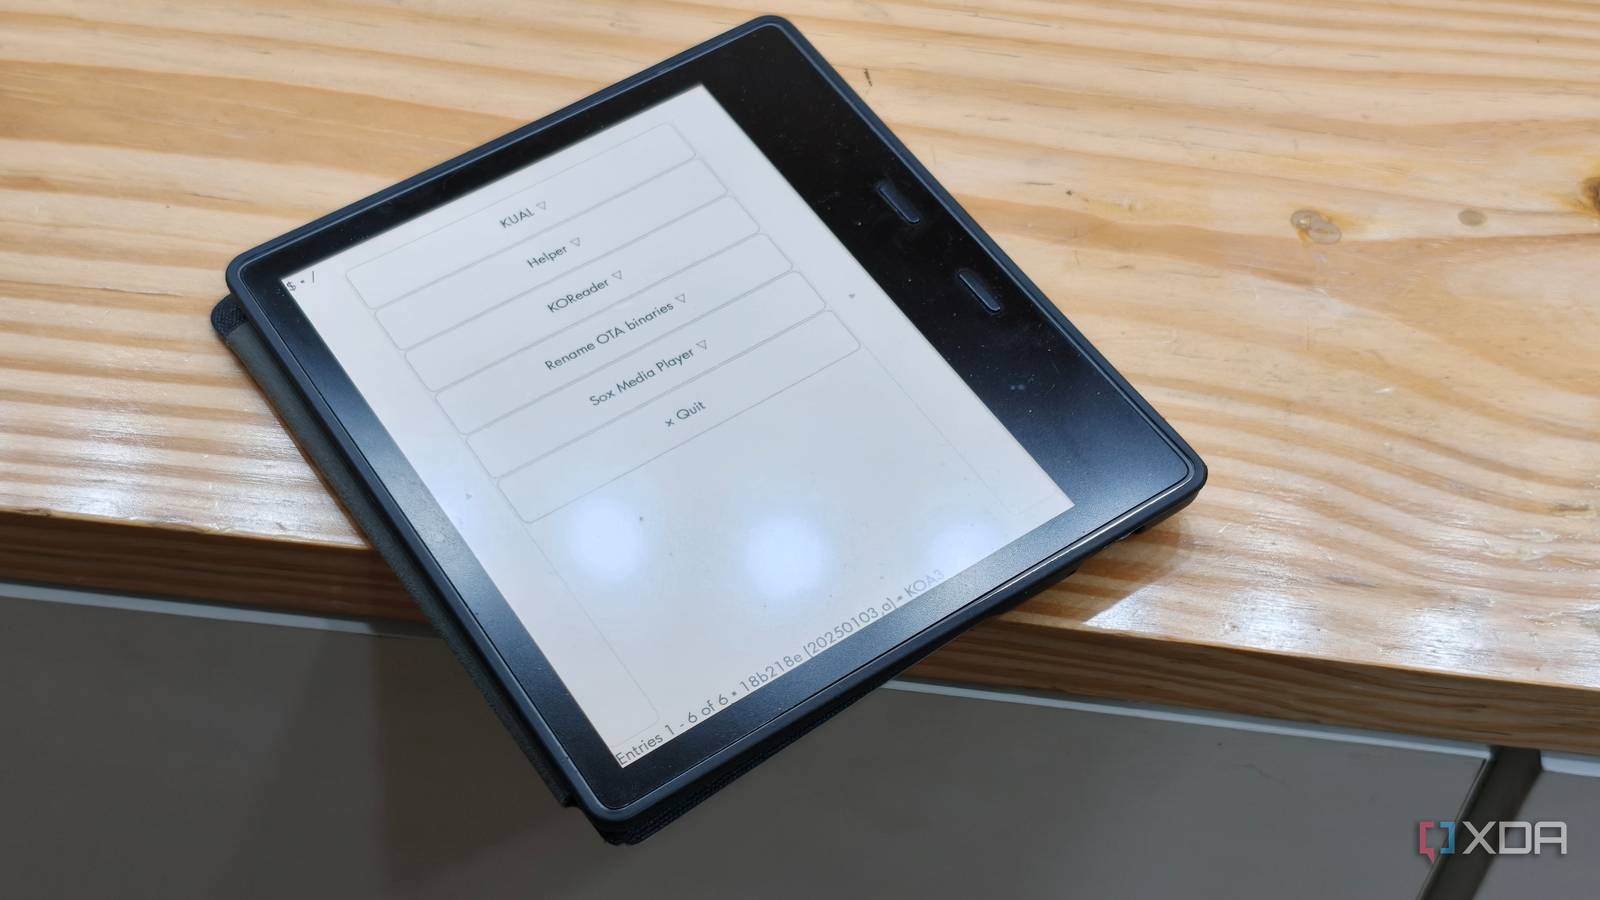
Safely eject the Kindle from your computer. On the Kindle, go to Settings > Device Options and select “Update Your Kindle” (if you used a .bin file) OR open the web browser and navigate to a special URL (like http://kindle:33033/jailbreak) if using a script. The device will reboot. After restart, you should see a new menu item (often in Settings) indicating jailbreak success. Verify by checking for a folder named jailbreak in the root filesystem.
Step 4: Install Custom Firmware or Patches
With the jailbreak active, you can now install custom firmware like KOReader or patches from the MobileRead community. For KOReader, download the latest release for your model, extract it, and copy the koreader folder and an associated .bin installer to the root of the Kindle. Then, follow the same update process (Settings > Update Your Kindle). The device will boot into a launcher that lets you choose between the stock Kindle OS and KOReader.
Step 5: Enable Hidden Features
After jailbreaking, you can enable custom screensavers by replacing the files in the screensavers folder (if created by the jailbreak) or using a tool like Kindle ScreenSaver Swapper. To change fonts, install the Fonts Hack – copy custom TTF files to fonts/ in the Kindle’s internal storage. For advanced reading stats, try the KoReader plugin that tracks pages per hour, reading speed, and more.
Common Mistakes to Avoid
- Using the wrong jailbreak files – Your firmware version must match exactly; otherwise, the jailbreak may fail or brick the device.
- Forgetting to turn off Wi-Fi – If an automatic update occurs mid-process, you may lose the jailbreak or corrupt the system.
- Not backing up original files – Before modifying anything, copy your Kindle’s
systemfolder or take a backup using KindleTool. This helps recover if something goes wrong. - Ignoring community warnings – Some firmware versions are notoriously difficult to jailbreak. Read recent threads on MobileRead before proceeding.
- Using an extremely low battery – A dying Kindle during update can lead to a brick. Charge fully.
Summary
Jailbreaking your Kindle opens up a wealth of customization: custom wallpapers, third-party readers, advanced statistics, and more. The process requires careful preparation, matching files to firmware, and executing via USB transfer. After jailbreaking, you can install KOReader or apply patches to unlock features Amazon deliberately hides. Always verify compatibility, back up your data, and follow community guidelines to avoid common pitfalls like firmware mismatch or power failure. With patience, you can transform your reading device into a truly personal tool.
Related Articles
- Transform Your Spotify Ads API Management with a Conversational Interface Using Claude Code Plugins
- Modernizing Your Go Code with the New go fix Command
- Supply Chain Attack on SAP npm Packages Exposes Developer Tool Vulnerabilities
- How to Build a Conversational Ads Manager for Spotify Using Claude Code Plugins
- 10 Key Insights: How Kotlin Developers Are Navigating AI-Powered Development
- 10 Hidden Secrets of VS Code’s Task Runner That Will Change Your Workflow
- 7 Key Ways to Govern MCP Tool Calls in .NET with Agent Governance Toolkit
- Mastering List Flattening in Python: A Step-by-Step Tutorial